

Make your own font from stitch files
Turn an alphabet you digitized, or one sold as letter designs, into a kiosk font: digitizing the letters, naming the files and size folders, importing them, and testing.
Overview
If you digitized your own alphabet, or bought one sold as a design file per letter, ThreadReady can turn it into a font customers type on the kiosk. You make one stitch file for each letter, name the files so ThreadReady knows which letter each is, and import the folder or .zip under Designs → Fonts → Import a font pack. ThreadReady reads the letters, works out the spacing, and saves each size as a font file in one family, stored in the open .oef format.
This guide covers preparing the files. The import screen itself is described step by step in Font packs.
Only owners and admins can import fonts.
Before you start: a font made from stitch files sews the stitches you made, so each size can only be resized about 10% either way. Make each letter at every size you sell (for example 1, 1.5 and 2 inches). If you have a BX version of the same alphabet, upload that instead: see When the pack also has a BX font.
1. Digitize the letters
In your digitizing software, make each character its own design:
- One size at a time. Every letter of a size should share the same capital height (an A at 2 inches is 2 inches tall). ThreadReady measures each size from its letters, and it uses the stitches to tell capitals from lower case, since capitals are taller than the same lower-case letter.
- The same baseline. Sit every letter on the same line, with tails (g, j, y) going below it. ThreadReady finds the baseline from the letters and draws it in the preview, and you can nudge a letter that sits too high or too low, but letters made on one baseline need no fixing.
- Start on the left, end on the right. The machine sews letters in reading order. For a script font, start each letter where the joining stroke from the previous letter ends, and tick start each letter where the one before ends when you import.
- Lock stitches at the start and end of each letter, as you would for any design.
- Include the characters names need: capitals, lower case, numbers, and at least the hyphen, apostrophe, period and ampersand. Common accented letters (é, ñ, ü and others) are built from your own letters and accents when the font has no letter of its own, but a letter you digitize yourself looks better. Any other character you leave out can't be typed on the kiosk.
Save each letter in a machine format, such as DST, PES, JEF, EXP or VP3. Any common stitch format works. DST and EXP files carry no thread colours, so ThreadReady makes one up and lists it under Check these; the customer picks the thread on the kiosk anyway.
2. Name the files
ThreadReady works out each letter from its file name, so the name is the letter:
| Character | File name |
|---|---|
| A capital A | A.dst |
| A number | 7.dst (or seven.dst) |
| Punctuation | spelled out: hyphen.dst, apostrophe.dst, period.dst, ampersand.dst, question.dst, exclamation.dst |
| An accented letter | the letter's name, such as eacute.dst or Ntilde.dst, or its code point, such as U+00E9.dst |
Capitals and lower case. Windows and macOS treat A.dst and a.dst as the same file name, so you can't keep both in one folder. Do one of these:
- add a word:
A_upper.dstanda_lower.dst, or - put them in folders:
Uppercase/A.dstandLowercase/a.dst.
A name that is only A.dst with no lower-case partner is fine: ThreadReady decides its case from the stitches, says why, and you can change it when you import.
Sizes. Put each size in its own folder, named with the size and unit: 1 inch/, 1.5 inch/, 25mm/. A size in the file name works too (A 2in.dst). Always include the unit, so the size is read the way you mean it.
A finished font looks like this:
Picnic Script/
  1 inch/
    Uppercase/  A.dst  B.dst  C.dst …
    Lowercase/  a.dst  b.dst  c.dst …
    0.dst … 9.dst  hyphen.dst  apostrophe.dst  period.dst  ampersand.dst
  2 inch/
    Uppercase/ …
    Lowercase/ …
Then zip the top folder, or pick the folder itself when you import. The font's name comes from the top folder or the zip's name (you can change it).
Licence file. If you will share the font, add a licence.txt saying how it may be used. ThreadReady lists a licence file it finds under Check these but doesn't read it, so it doesn't change how the font sews.
3. Import it
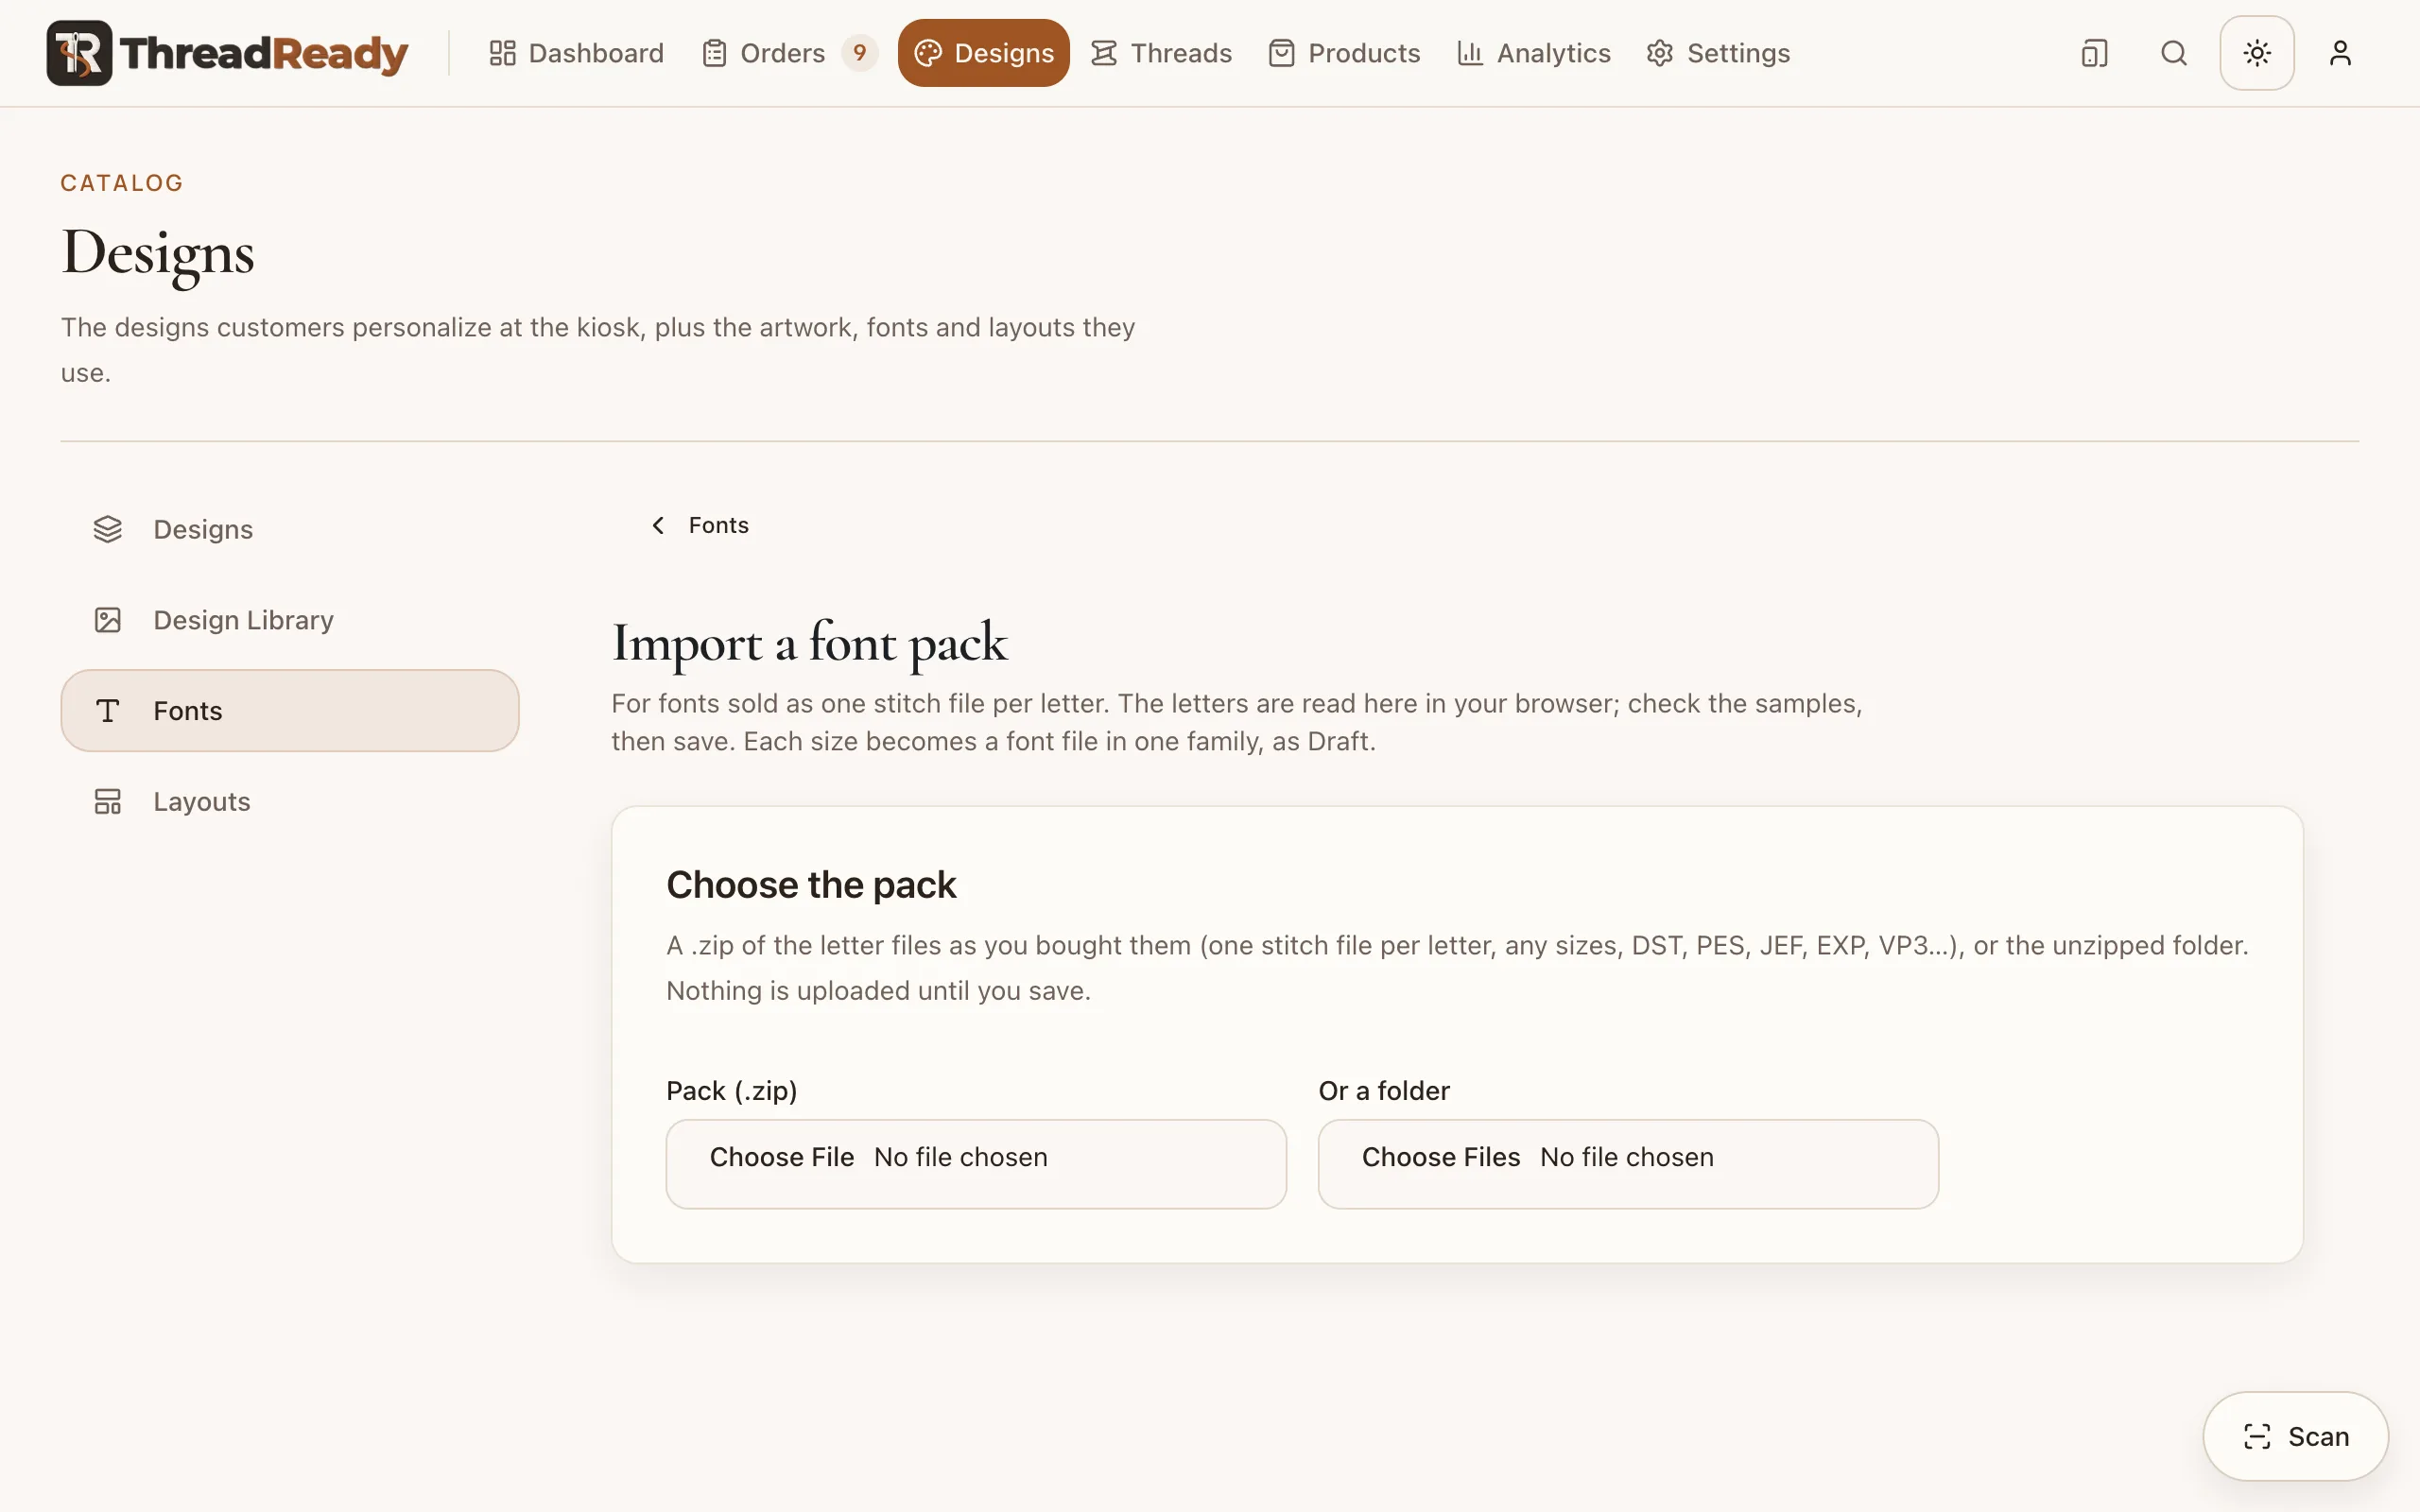
Go to Designs → Fonts, click Import a font pack, and choose the zip or folder. The letters are read in your browser and nothing is uploaded until you save. Then check, in order:
- Family name, and Upper and lower case: if the case was read wrong, choose All capitals, All lower case or As the file names say.
- Spacing: letter, word and line spacing are estimated from your letters. Move a slider and click Update the preview to see a change.
- Sizes: each shows how its folder name was read ("15inch" read as 1.5 inch), the measured height, how many letters it has, and which are missing.
- Letters: nudge any letter that sits off the baseline.
- Click Add … sizes as Draft.
Each step is described in full in Importing a font pack.
4. Test and publish
The sizes arrive as drafts, so customers don't see them yet. Open the family under Designs → Fonts, type some names in a size's Text preview, put the family on a field in the design editor (it uses drafts), and sew a test name at each size. When it looks right, open the family and click Publish all drafts.
To change letters later, fix their files and import the font again, then archive or delete the old sizes in the family: an import always adds new sizes and never replaces the ones already there.
Related
- What are BX fonts?: how fonts made from stitches compare with fonts that re-sew at any size.
- OEF and OED files: the open format your font is saved in.